今日の午前中は、黄瀬戸足付角鉢の足付けです。
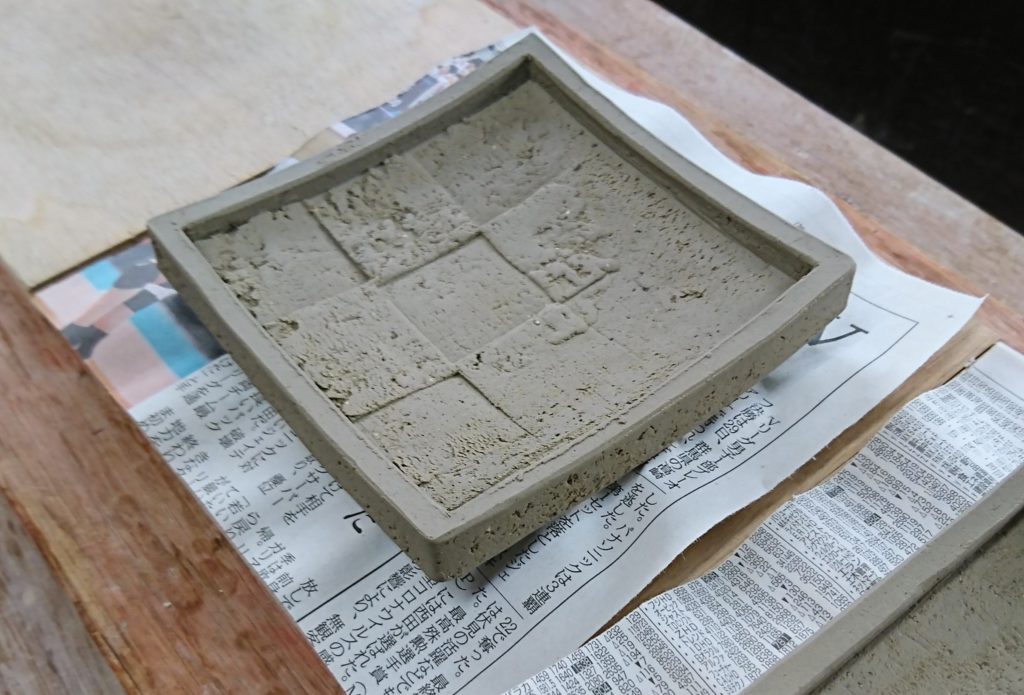
鉢の部分を造るのにも時間がかかりますが、ここから最後の作業の足付けです。
まずは、台の上に裏を上にして置いて、
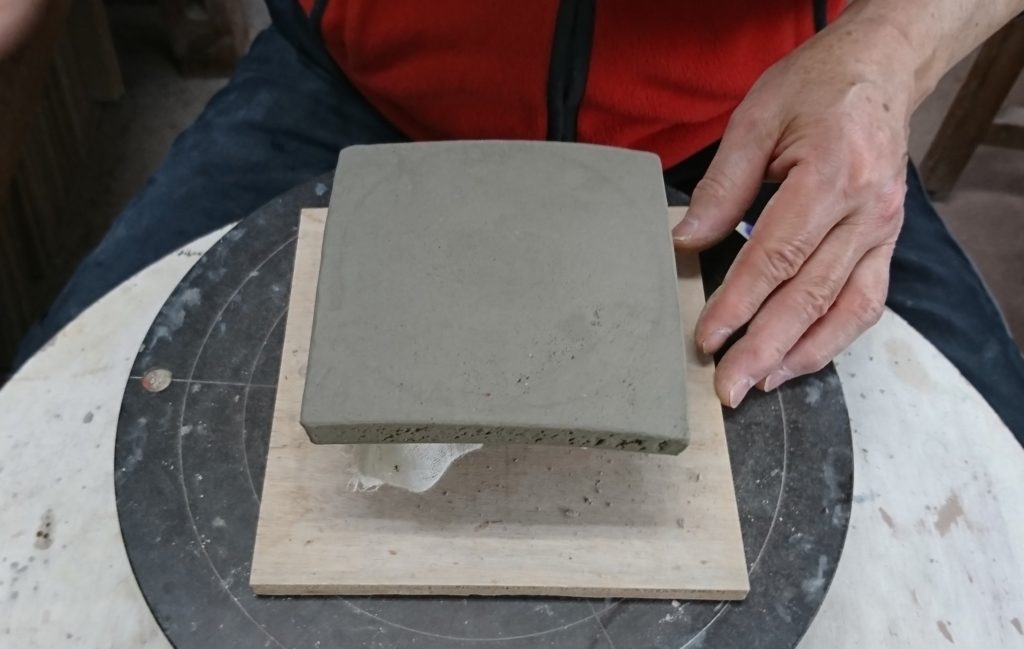
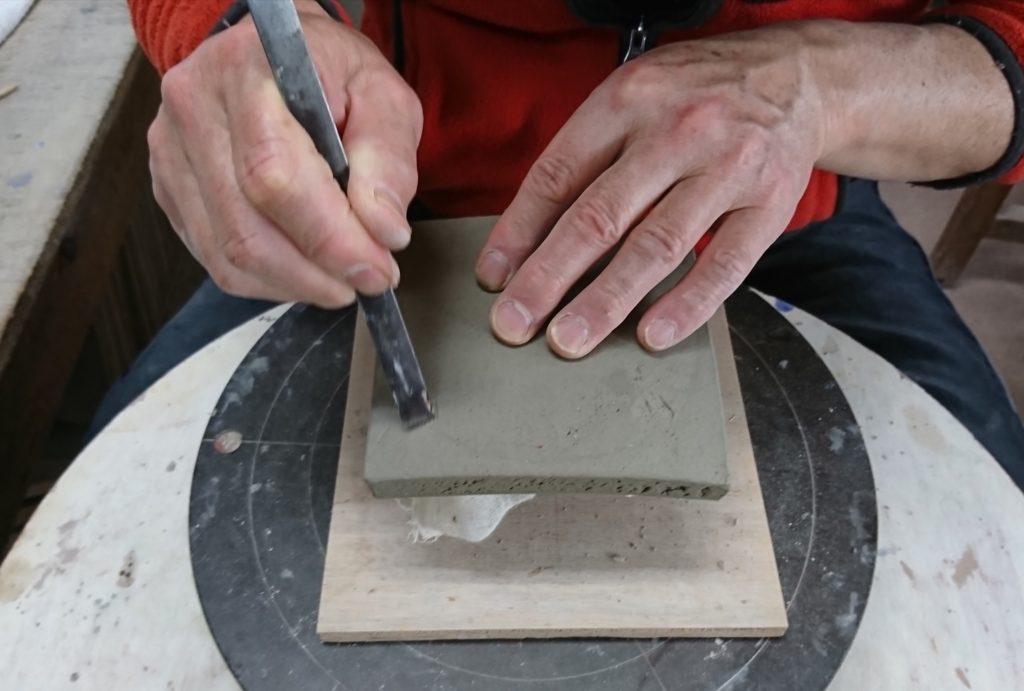
足の部分の所を削って、
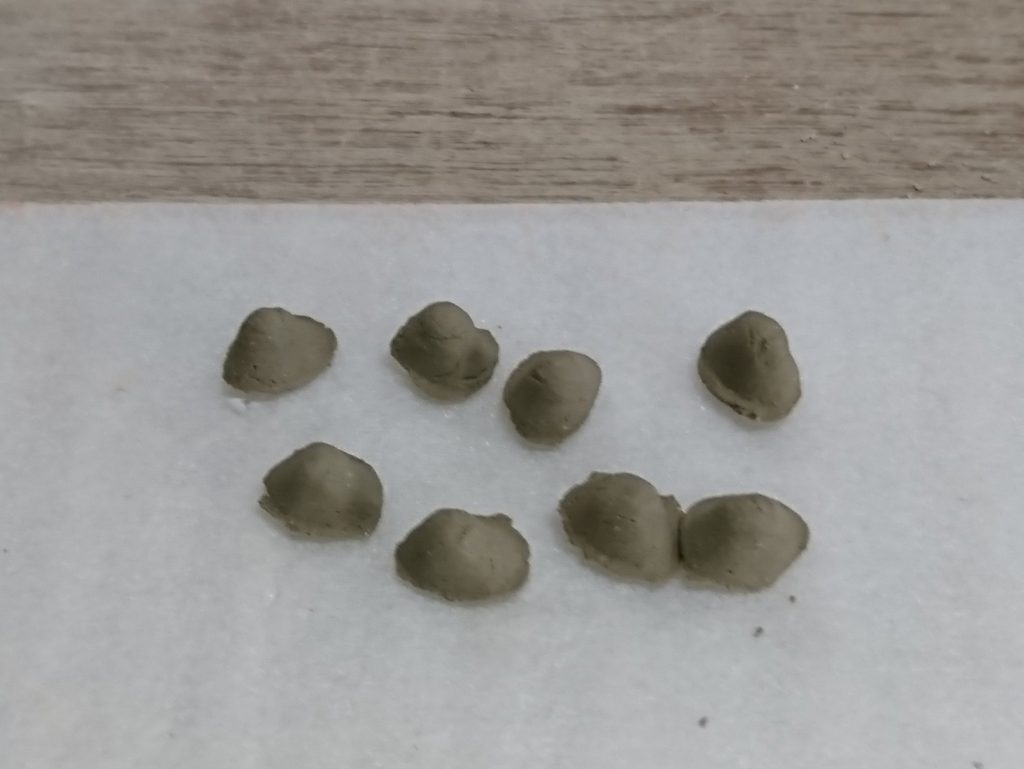
足はたくさん作って、ちょうどいい固さに乾かしてあります。
足の部分の裏も削って、水をつけて、
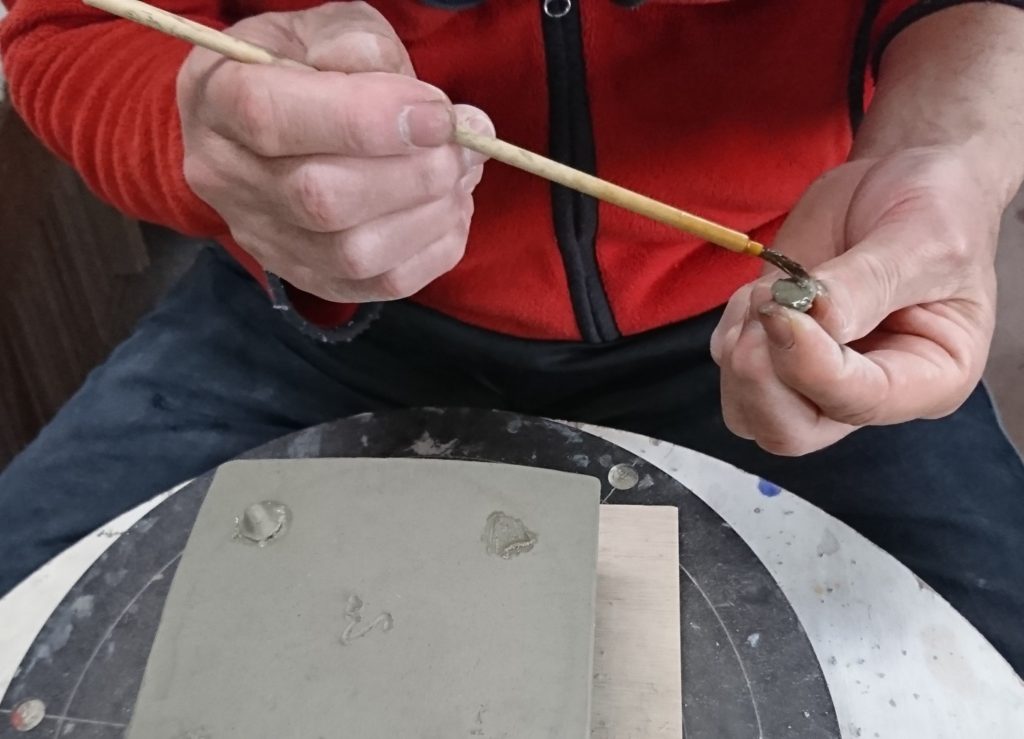
ぐぐぐっと付けます。
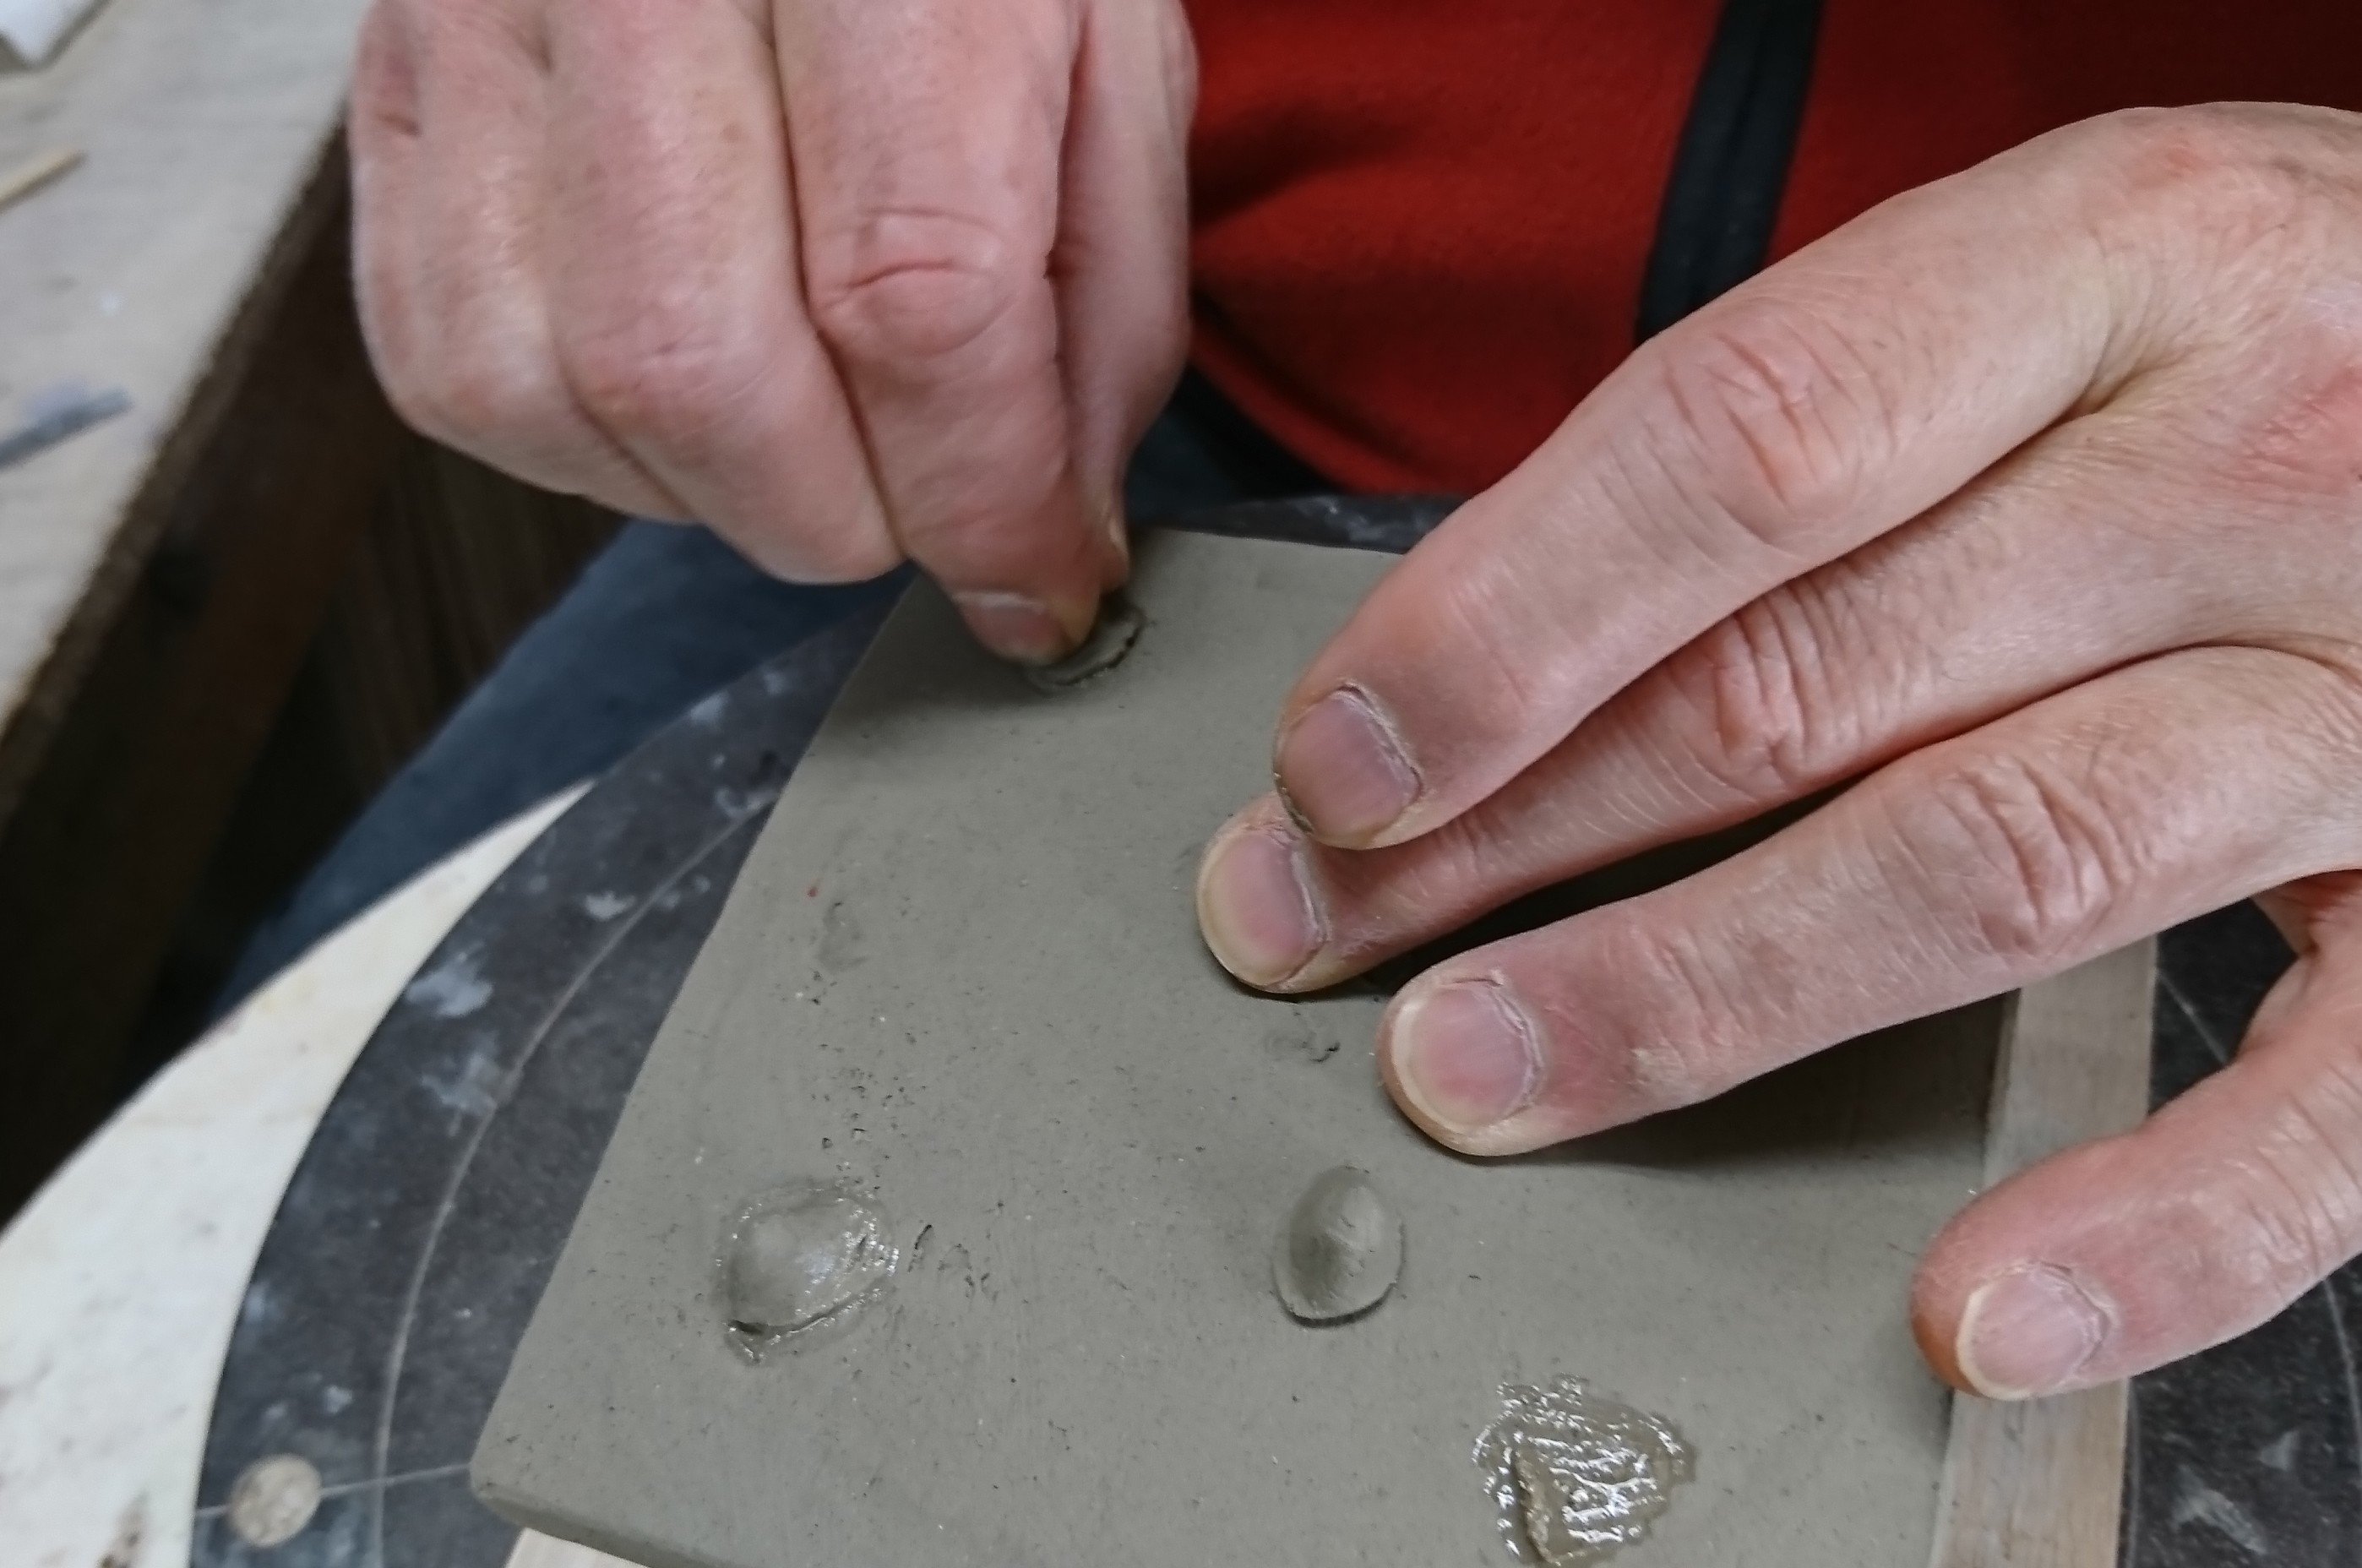
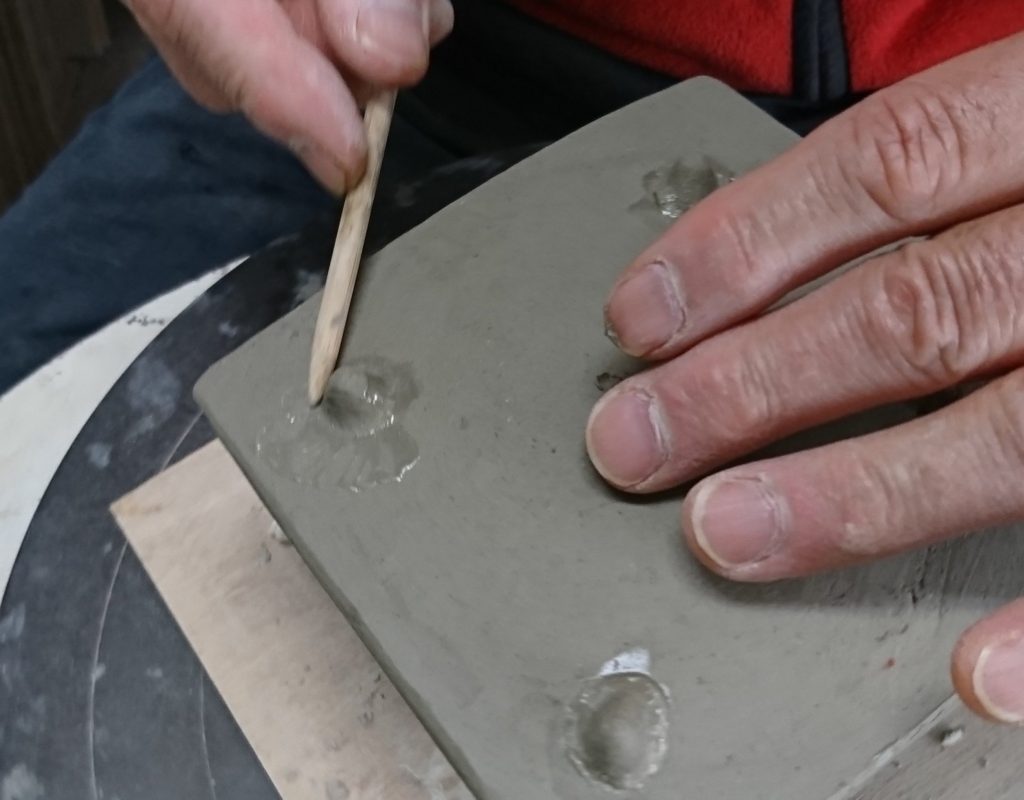
付けた部分をキレイにします。
棒でしっかりと押さえながら・・・
しっかり付けます。
見た目も綺麗に!
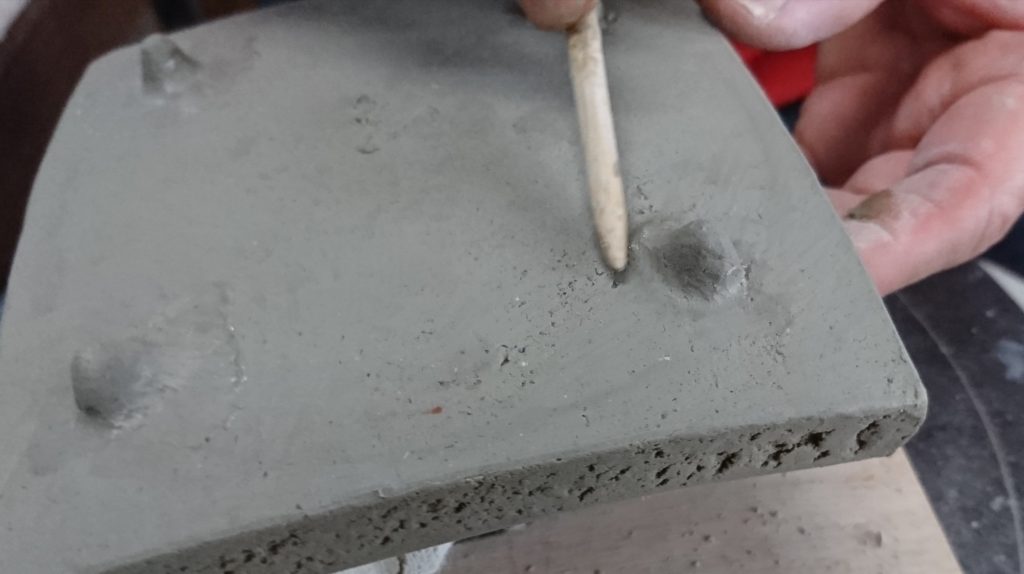
4ヵ所すべてできたら、

表にして、又ぐぐぐっと押します。
4ヵ所の足で立つように!
押さえすぎると、足が潰れてしまうので加減をしながら・・・